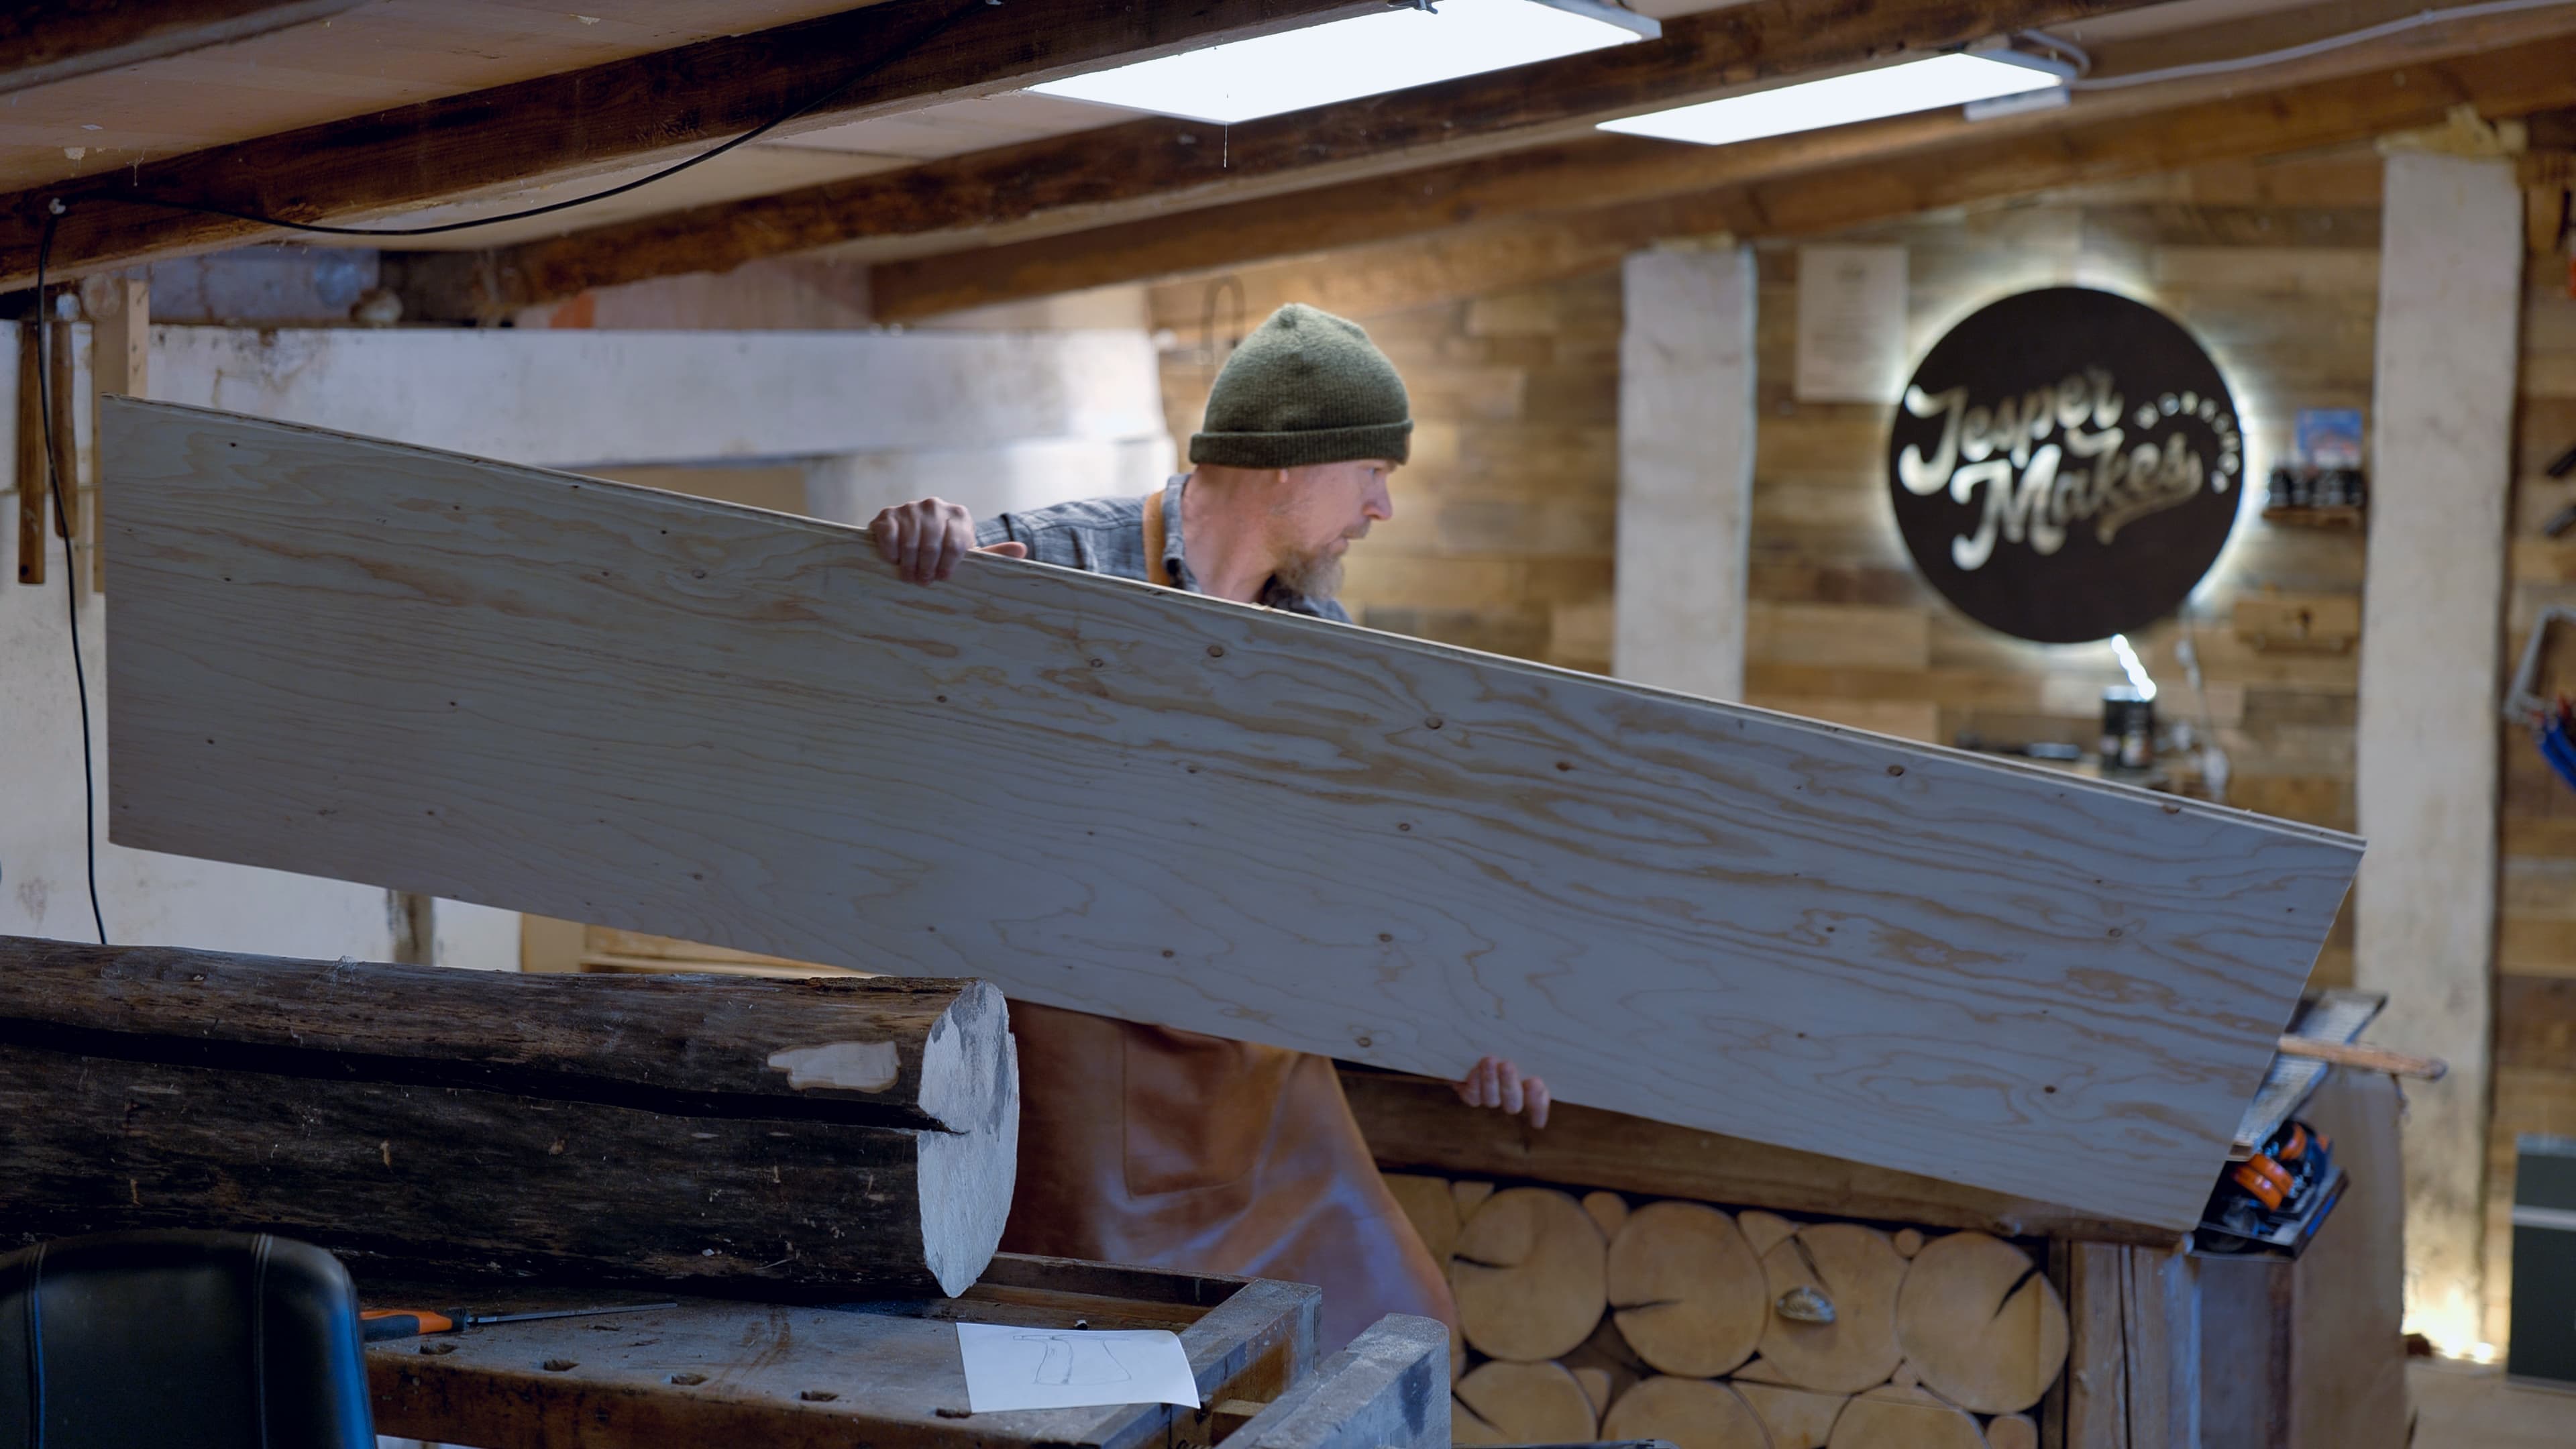
7 Plywood Secrets Most Beginners Never Learn
I used to think plywood was for people who couldn't afford real wood.
That's wrong, and it took me longer than it should have to figure out why. Plywood is stable. It stays flat. It gives you sheet sizes you cannot get from a tree. Good plywood is not a compromise. It's the right material for most of what we're actually building, and if you're fighting solid wood on every project, you're doing it the hard way.
This post is for anyone who's bought their first sheet and got frustrated. Here are seven things I wish someone had told me on day one.
1. The sheet is always oversized. Trim all four edges first.
A sheet labelled 2440 x 1220 mm is actually closer to 2450 x 1225 mm with rough-cut edges. The factory trim leaves a few millimetres of slop on every side. Every sheet. Every time.
Before you measure for any cut, trim all four edges to a known reference. Rip one long edge true on the table saw or with a track saw, then square the adjacent edges from there. Otherwise, every dimension you measure downstream is going to be wrong in a way you can't predict.
This sounds obvious once you've been bitten by it. It is not obvious the first time.
2. The face veneer is half a millimetre. Don't sand through it.
The outer layer of good plywood is about 0.5 mm thick. Sometimes less.
I watched a lot of beginners (including me) put a belt sander on a sheet and go to town. What happens is you sand through the face veneer in about ten seconds and suddenly you're looking at the uglier layer underneath, with no way to recover.
Start with 180-grit at the lowest. Work up to 240 or 320. Trust the factory surface. It's usually better than anything you'll achieve by sanding harder. Fix small marks with a sanding block and your hand, not a power tool.
3. Grade is about the face. Not the strength.
The grade of a plywood panel (BB, WG, III, BB/BB, B/BB, whatever the marking is) describes what the face looks like. It does not describe how strong the panel is.
A BB-grade birch panel and a III-grade birch panel have the same glue, the same veneer structure, and the same load-bearing capacity. The only difference is how much visible stuff is on the face. Knots, patches, repair plugs, colour variation.
This matters because premium-face plywood costs serious money. If the sheet is going behind cladding, getting painted, or used as a template that'll be scrap in a month, buy the cheapest grade the yard has. Save the good stuff for visible work.
4. Birch is for show. Spruce is for structure. Don't swap them.
Every plywood conversation I have with someone starting out eventually lands on the same question: which kind should I buy?
Birch. If you want a hard, smooth, light-coloured face that takes clear finish and shows up well under kitchen lights. It's a hardwood. It's stronger per millimetre. It costs more. Use it where the panel will be seen.
Spruce. If you need structure, not aesthetics. Roof sheathing, wall sheathing, cabin floors, shop furniture, painted projects. It's a softwood, it's about half the weight of hardwood plywood, it's cheaper, and it's lighter on your back when you carry full sheets up a ladder. Nordic spruce plywood is the material most of Scandinavia's light construction is built from.
The mistake people make is buying birch for structure (paying a lot for appearance they're going to paint over) or buying spruce for visible furniture (and hating the result). Pick by function.
5. Seal the edges. Always.
Plywood edges drink water like a sponge. Leave a raw edge exposed outdoors, even under a roof, even for a weekend, and the sheet will swell, delaminate, and fail.
Every edge gets sealed. Prime it, paint it, polyurethane it, or edge-band it with veneer tape. This is not optional for outdoor work, and it's a smart default for indoor work too because it keeps the edge from absorbing grime and moisture over time.
If you're using WISA-Spruce BT for construction, the treatment protects the face and back but not the cut edges. Those are freshly exposed wood. Seal them the same as any other cut edge.
6. "Good side up" depends on your tool.
Your saw blade is spinning. Wherever the blade exits the material, that's where you get tear-out. The rule is simple once you understand it.
Track saw or circular saw: blade enters from the top, exits through the bottom. Put the good side down.
Table saw or router in a table: blade enters from the bottom, exits through the top. Put the good side up.
Hand router (plunge or fixed, held above the work): the bit enters from the top, exits through the bottom. Good side down.
If you're getting tear-out on the wrong side of your cut, the first thing to check isn't your blade. It's which side of the sheet you flipped face-up.
7. The edge is a feature, not a flaw.
I spent my first year of serious plywood work hiding every single edge. Solid wood lippings, veneer tape, fillers, paint. The edge was always something to conceal because I thought exposed laminations looked cheap.
Then I saw a chair with raw birch plywood edges, sanded smooth and finished with hard wax oil, and I realised I'd been fighting the material instead of working with it. A clean plywood edge, the striped laminations of a well-cut birch panel, is one of the most beautiful edges you can put on furniture. It's a signature of the material. It says what the piece is.
This is the biggest mental shift plywood asks of you. Stop hiding what it is. Cut clean, sand well, finish the edge like you'd finish the face, and let the laminations be part of the design. Your work will immediately look more modern, more confident, and more like it was made by someone who chose plywood on purpose.
That's it. Go build something.
Plywood isn't a compromise. Good plywood, used on purpose, is a better choice than solid wood for most of what makers actually build. Kitchens, cabinets, furniture, cabin walls, shop fixtures, templates, jigs.
The problem has never been the material. The problem is that nobody tells you how to read a grade stamp, how to seal an edge, or which side of the sheet to cut face-up. Now somebody has.
I've got a full guide to plywood on the tools side of the site, with deeper notes on the three WISA panels I use for every serious project. If you're just starting out, read that next.
And if you want the video version eventually, I've been saying for a while that I want to make one called "This Will Change How You See Plywood." Subscribe to the newsletter and you'll know when it drops.
NOTES FROM THE WORKSHOP
If you read this far, we should talk more often.
The newsletter is the written side of all this: running the business, the real numbers, the problems, and the tools I build to fix them. Free, roughly monthly.
Ready to build something?
Browse plans, printable reference sheets, and digital products for woodworkers.
Browse our woodworking plans and files →